
How to Start Aquascaping a New Tank: Planting and First Fish
Set up a stable planted aquarium with safe substrate and hardscape, healthy plants, treated water, a modest light schedule, and a cycled biofilter.
Aquascaping for beginners starts with a stable base: aquarium-safe materials, healthy plants, treated water, a working filter, and a complete nitrogen cycle before fish or shrimp are added.
The Merck Veterinary Manual aquarium guide explains why temperature, filtration, water quality, and species needs must be ready before livestock. Build the layout first, then let test results decide when the tank is safe.
New Aquascape Setup At A Glance
- Place the tank on a level, supported surface and check that the equipment fits.
- Add aquarium-safe substrate, stable hardscape, and healthy plants.
- Fill with dechlorinated water, then start the filter, heater if needed, and a modest light schedule.
- Cycle the biofilter and test ammonia, nitrite, and nitrate.
- Add compatible livestock only after ammonia and nitrite stay at zero.
Now, let the fun start! Your tank is in place; let’s start with your substrate. Depending on your chosen substrate, you might need to rinse it first. There should be instructions on the bag for you to follow. If you need to rinse, the best is to put a bit of substrate at a time into a clean bucket and rinse about three times with clean water or until the water stays clear.
When I say clean bucket, it needs to be free from any chemicals and should be your bucket that is dedicated to your fish hobby only. If you choose to start with Aqua Soil, you can skip the rinsing step. What I like to do with the Aqua Soil is add it to the tank and then add enough water to cover the substrate.
Covering the substrate with water makes it easier to start planting and adding your hardscapes in the areas you want them.
Planting
Suppose you have practiced your planting style on Scape It. You will know exactly where to add what. Make sure your plants are deep enough into the substrate to establish themselves nicely and not float away.
When purchasing plants, you might get plants that have already been living underwater, or you might buy plants that now have to change into underwater plants.
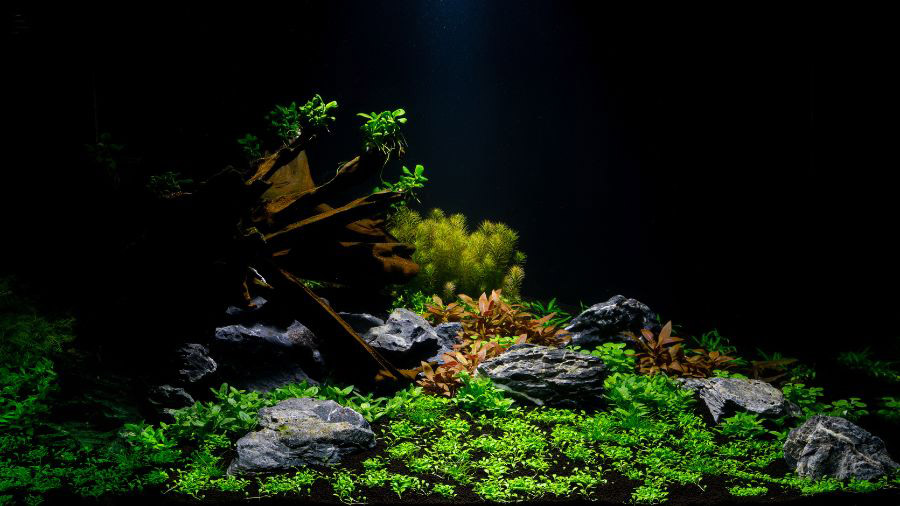
If your plants are going underwater for the first time, they will go through a phase where it will appear like they are “melting”. This is entirely normal, and you will see some of the plants change in color or their leaf shape changes too. Old leaves will die and new ones will grow in their place.
I would suggest that faster-growing plants be incorporated into the tank setup as it will reduce your algae. The faster-growing plants soak up all the nutrients and leave little nutrients to prevent algae from growing.
The faster-growing plants can be used temporarily and removed once your tank is fully balanced after a few months. You might want to remove the faster-growing plants because you would constantly have to prune, which is not something that everyone wants to do.
I also want to mention when your plant leaves are covered in algae, they will have a harder time trying to soak up nutrients, so pruning is your friend. Prune the leaves that are covered in algae and scoop the pruned bits out of your tank.
It is better to plant denser than to have a little plant here and there. This will also help you immensely to combat the algae in your newly planted aquarium.
Algae
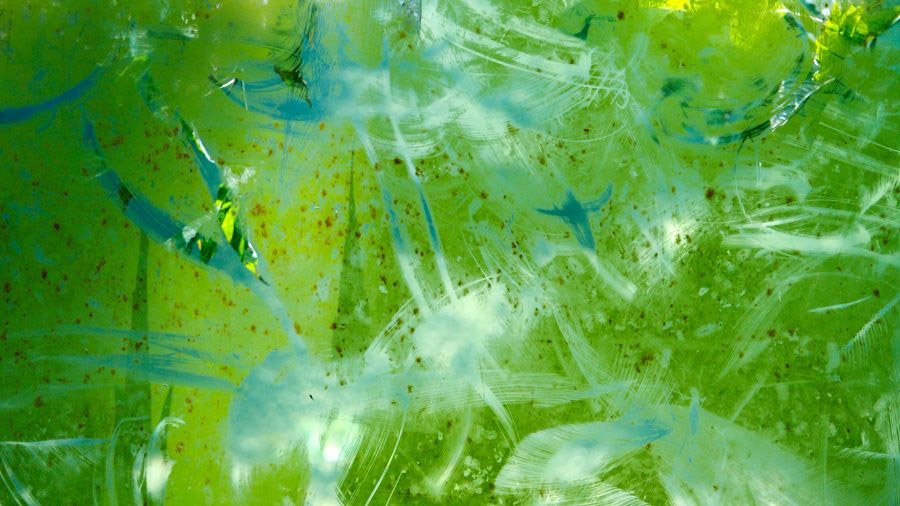
Algae are something that is very normal for any new startup tank, especially if you are using a moderate to high-strength light. You can expect algae to show up around week three and you need to accept it as part of the experience.
You can use a chopstick to remove the stringy algae that will form on your driftwood and some of the plants. Keep up with your weekly maintenance, and the algae will soon dissipate.
Hardscapes
Rocks and driftwood create a beautiful aesthetic in any aquarium. What is important to remember when you incorporate a rock into your tank is to make sure that the rock is not touching the aquarium glass. This will help avoid scratches and breaks should sudden pressure be applied.
Once your substrate is in you can start placing your plants and hardscapes in the areas you want them. Make sure you choose suitable rocks and driftwood that won’t cause any unwanted issues to your new tank water chemicals.
When you want certain plants to be attached to the driftwood or the rocks, you can use a special aquarium glue that you should be able to source online or at your local pet shop. I have also heard people use string or rubber bands and then cut them after the roots have been properly established. I just think the glue might be an easier option for you.
If you have bought a piece of driftwood, make sure to soak and clean your driftwood a few days prior to ensure it sinks in your tank and tannins are released before entering your new tank. I would suggest you clean your rocks off, too, with fresh water.
I bought two Ohko Dragon Stones, and I soaked and cleaned them before I added them to my new tank. I was very pleased that I did as there was clay mud that was trapped in the rock, and it would have taken me ages to try and get my water clear, not to mention what it could have done to my water chemicals.
Adding Your Water
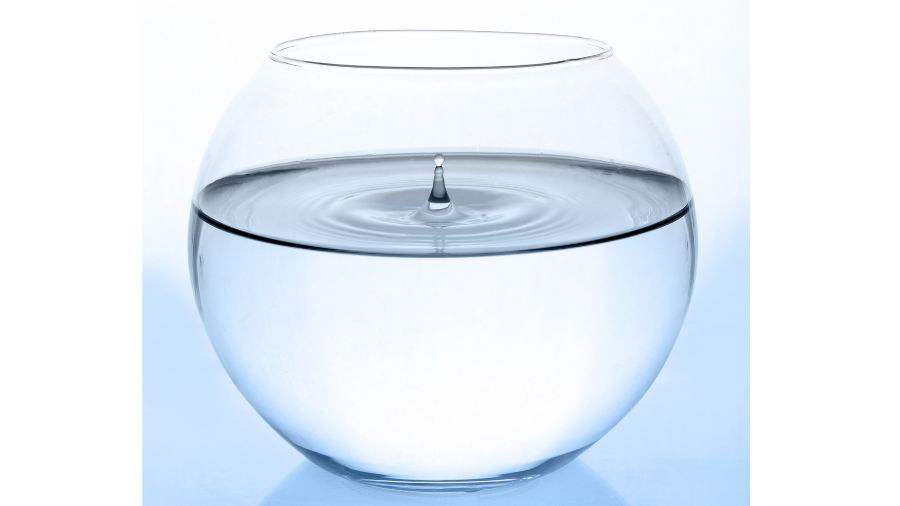
Here I have two options for you when adding your water. I like to add enough water, in the beginning, to cover the substrate and plant and place things right away; then I add a small bowl or plate in to take the punch for when I add the water so it doesn’t disturb what I just created.
Other people prefer adding the water first and then planting and adding substrate. This is completely up to you. If you know you are going to take a bit longer, I would maybe suggest that you add water to cover the substrate and some just when you plant so that your plants don’t risk drying out.
I just found that by adding the water first, I had more difficulty placing my plants. you have your arm in the tank, and sometimes you need your other hand to jump in, too. It becomes a very wet and messy experience. Also, remember not to fill the tank to the top, as you still have to add items that will increase your water level.
You can now add your dechlorination chemicals and start running your heater (if required), your chosen light, and the tank filter. If you do require your water temperature to be at a certain level, you can use your thermometer to make sure the water you add from your faucet is roughly at that temperature required.
You must start your light cycle from day one with six hours daily. Stick to a routine from the start. If you are going to be home and want to enjoy your aquarium art you can choose to switch the lights on from 5 PM to 11 PM. This will ensure the health of your plants is maintained.
The new biofilter must be cycled before livestock is added. A small piece of mature filter media from a known healthy aquarium can seed the new filter, but it can also carry disease, so use only a trusted source. The safer no-shortcut approach is the fishless cycling method in this aquarium bacteria guide. Test the water instead of judging the cycle by time or clarity.
Care Schedule For Your New Planted Tank
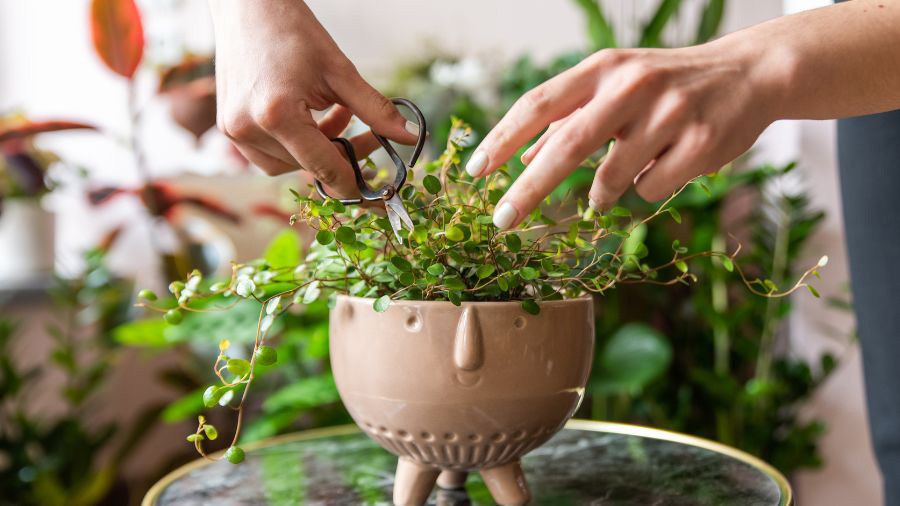
The maintenance of your newly planted tank can be divided into three categories. Each of these categories has its own little checklist of things to do. You will need all your additional tools to carry out the weekly and monthly maintenance.
Daily Checks
The daily maintenance you can expect to carry out on your fish tank is the feeding of the fish, checking on the plants, and switching the light on and off (if you don’t) have a timer.
Weekly Tasks
Test the water, remove dead plant matter, clean the glass, and change enough water to keep the tested values safe. Treat the new water for chlorine or chloramine and match its temperature closely. The right change size depends on livestock, waste, fertilizer, and test results.
Monthly Tasks
Longer maintenance includes trimming plants, removing algae, and checking equipment and hardscape stability. Test ammonia and nitrite from the start of cycling, not only after several weeks. Add fertilizer only for the plants and substrate you use, following the product label and adjusting from plant growth and water tests.
The reason you are able to wait three to four weeks is due to the substrate; if you use Aqua Soil, it has nutrients that get released slowly over time. So that is enough to last the first few weeks; after that, you might need to add in additional for your plants.
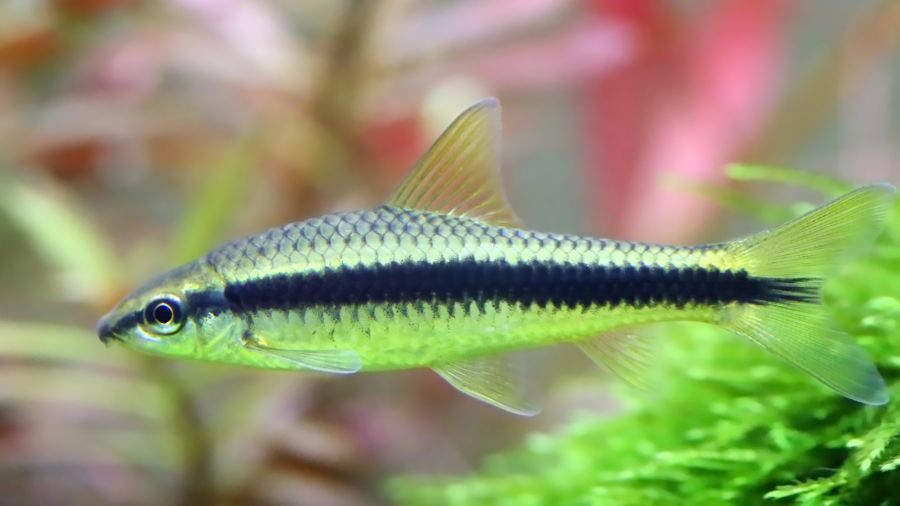
The Clean-Up Crew
The clean-up crew you decide on should be compatible with the fish you choose to use in your aquarium. They assist with helping cut down your algae cleaning maintenance. I have compiled a list of my top choices for different types of algae.
First on the list is the Siamese Algae Eaters, these fish are great for combating the Black Brush Algae. They are a perfect choice for medium to large-size tanks. Second on the list is Clithon Snails; they sort out Black Brush Algae, Green Spot, and Green Dust Algae. You don’t have to worry about snails overpopulating your tank with this kind of snail.
The female Clithon Snail will probably lay an egg when the opportunity arises, but fortunately, they will not be able to reproduce in freshwater. Third on the list is the Dwarf Suckers, they love softer algae like Green Dust Algae and diatoms.
If you are looking to add Dwarf Suckers (Otocinclus) into your tank, it is best you add three or more as they are social “fishies” that are big on the family. My last on the list, and probably my favorite, is the Amano Shrimp.
These friendly little shrimp are the best at sorting out the Hair Algae in your planted tank. It is best to get a few, depending on your size of tank, if you can aim for three or four. They enjoy hiding spots in your tank so make sure they have space to rest between all the cleaning.
Add a clean-up species only after the biofilter is cycled, ammonia and nitrite test at zero, and the tank provides its normal food. Do not add an animal to solve an algae problem until you have checked its adult size, group needs, water range, and compatibility with the planned community.
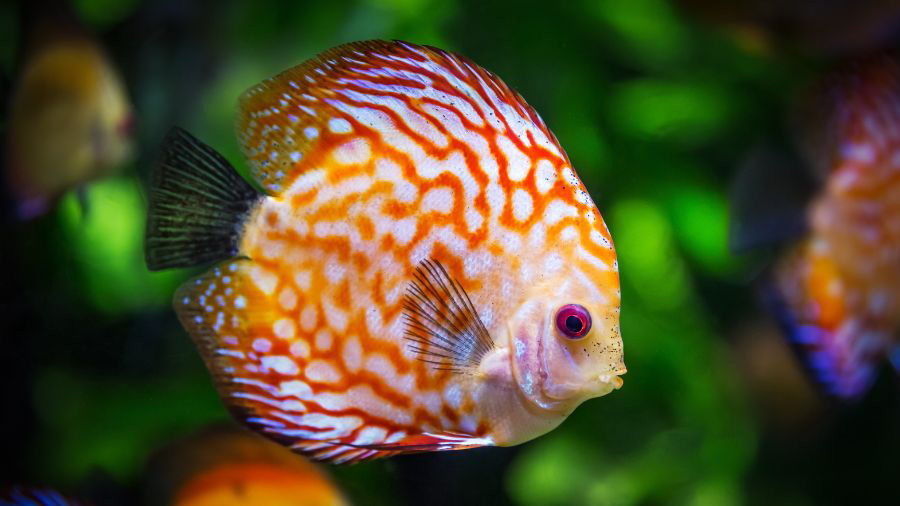
Adding Your Fish
Add fish only when the cycle is complete and the tank matches the species. Quarantine new fish when possible. Float the sealed bag long enough to equalize temperature, follow the seller’s acclimation advice, then net the fish into the aquarium without adding transport water.
A bottled bacteria product does not make every tank safe in one or two days. Follow its label, then confirm that ammonia and nitrite stay at zero before adding livestock.
Make sure if the fish you have chosen are plant eating fish, I added some plants in with my Fancy Goldfish and let me tell you, it ain’t fun. Each time I get to the tank I see something has been chomped or something was uprooted. So avoid fish that dig and eat plants, or at least plan a goldfish-friendly substrate and planting approach from the start.
Smaller fish work great with Aquascapes as they create the illusion of the tank being larger and add to the aesthetic.
How To Aquascape Without Rushing Livestock
Build the layout, start the filter, and let plants settle before you think about fish. Test ammonia, nitrite, and nitrate instead of guessing by the calendar. A clear tank is not automatically a cycled tank. Keep the light modest at first so algae does not outrun the plants. Merck Veterinary Manual aquarium management pages cover why filtration, water testing, and stocking pace belong in the same plan.
Place hardscape so it cannot fall onto glass. Plant densely in the first weeks. Prune melting leaves so they do not rot in place.
Beginner Aquascaping Guide For The First Month
Week one is for leaks, treated water, and a timer on the light. Week two is for planting gaps and checking that wood and rocks stay put.
Week three is when algae often shows, so wipe glass and remove strings by hand. Week four is for tests, not for a sudden full stocking. Add a small, compatible group only after ammonia and nitrite stay at zero.
Conclusion
Now you are all set; get your tank ready, and add your substrate, plants, and decorations. After that, you get to add your water and start running all your other accessories, like your lights and filter.
Your clean-up crew will be your best friend with your weekly and monthly maintenance, and lastly, you add all your fishies, sit back, and enjoy the wonder you created.
I am so excited for you, and I look forward to seeing what you have done with your planted tanks. I would love to know if there is a question you have that I didn’t cover in detail. Let me know!

Home fish breeder sharing practical aquarium, egg-care, and fry-raising methods.
Related guides
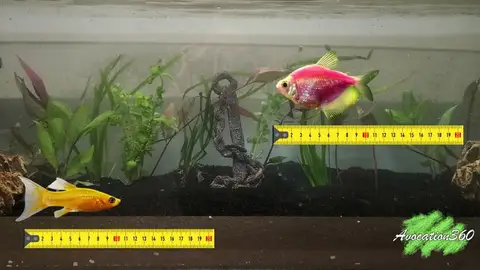
How Many Fish in a Small Tank? Simple Stocking Checks
Make a safer small-aquarium stocking choice using adult size, swimming room, group needs, behavior, waste, filtration, and water tests.
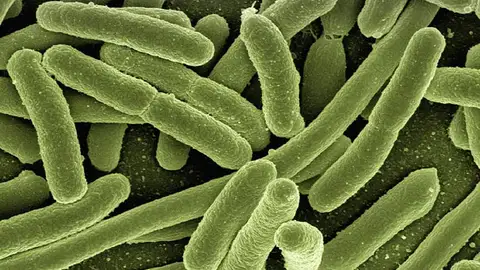
How to Make Beneficial Bacteria for Aquarium
Learn how to grow beneficial aquarium bacteria in a filter, seed it naturally, choose a starter, test the cycle, and avoid unsafe homemade shortcuts.
Shrimp Tank Setup Essentials for Beginners
Plan a mature, stable shrimp aquarium with gentle filtration, tested species-specific water, safe cover, natural grazing surfaces, and careful acclimation.