How To Setup A New Fish Tank At Home
Setting up a new fish tank is a scary but exciting experience. I’ve had quite the experience recently, as I did a new setup. Almost two months later, my tank cracked and semi-exploded, and I had to do everything from scratch again!
I will discuss everything you need for the setup and everything you need to consider, such as placement and equipment needed to get you started.
How To Set Up Your New Fish Tank
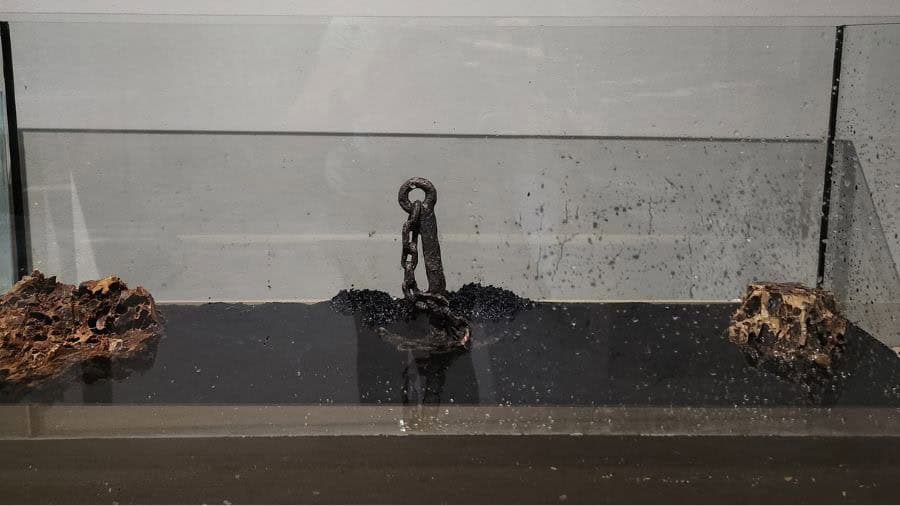
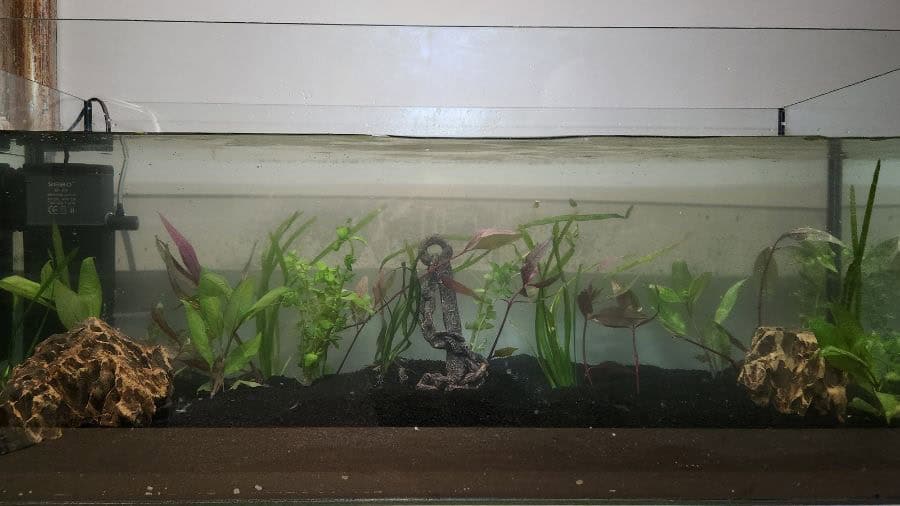
Start by placing your tank and rinsing your gravel; as I finish rinsing my gravel, I add it to my tank. Next, you can place your decorations and plants. If you want to create a certain aesthetic you can always practice before doing your actual setup at home. Make sure to secure your plants properly with enough substrate; otherwise, they will keep on floating up.
Place a new plastic bag down for you to add your water on so you can make sure none of the substrate or decorations are disturbed while pouring your water. The plastic bag helps break the force, and it is convenient because it floats as you pour more water.
Another great option is adding a clean glass bowl, the bowl doesn’t move like the plastic bag and absorbs all the force from the entering water.
I also recently used a clean glass bowl that worked even better than the plastic bag. By placing the glass bowl onto the substrate and pouring the water into it, no substrate or plant gets disturbed, and you just remove the bowl after adding your water.
You can now fit your tank accessories and start running the tank. At this stage, you will also add your bacteria and fish food.
What Do I Need For My Tank Setup (Checklist)

- Perfect location in your home
- Stand or suitable table for your new fish tank
- Fish tank size of choice
- Water filter, airstones, pumps, a light, and a heater (if necessary)
- Decorations, gravel, and plants
- Dechlorination drops, fish net, gravel vacuum, dedicated fish bucket, new dedicated kitchen sponge
- Optional: Beneficial bacteria & aquarium thermometer
Depending on what fish and how many you want to get will determine the size of the fish tank required. The bigger you go, the more it will cost you more with setup, naturally, as you need more gravel and a better filter, etc.
I like to go to the pet store and look around at the fish they have. It is best to ask questions to the person in the fish department. I usually ask who has the most knowledge and directly go to that guy. Good questions to ask would be:
- How many fish can you have for the size tank you want?
- Does the fish you are looking at getting need a heater?
- What size filter do you need to get?
- What plants are beginner-friendly and won’t become fish snacks?
I included items you need to clean and maintain your tank in the checklist. The gravel vacuum works amazingly at sucking up all the waste of the fish on and in the gravel. I use a dedicated bucket and kitchen sponge to help transfer the water and clean the inside glass.
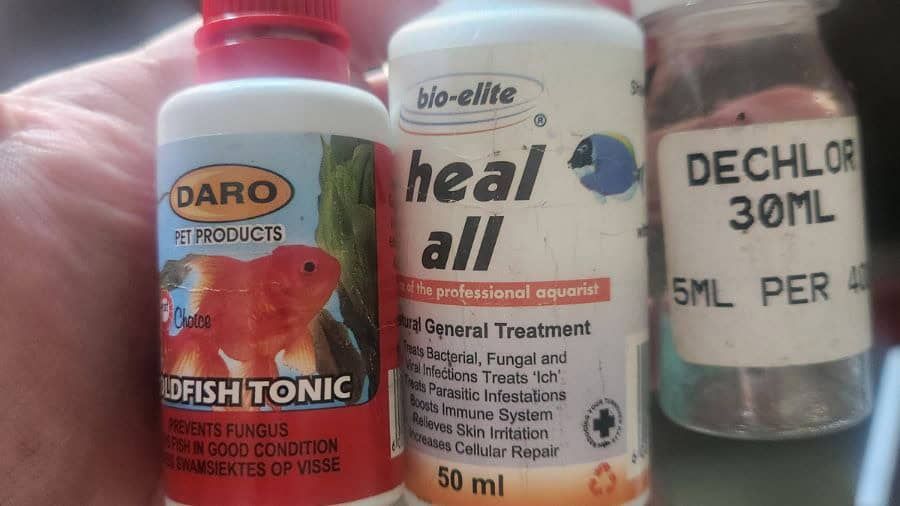
For your water changes, you will need dechlorination drops. It is best to use dechlorinated tap water (adding drops to tap water). Please don’t use store-bought water, as it lacks certain minerals and could cause your water parameters to shift in the wrong direction.
Rinse your gravel thoroughly before adding it to your new tank. I have the Crystal Black Aquarium sand, and there was a lot of pigment in it. I used my dedicated fish bucket, emptied one bag at a time into it, and rinsed it about three times before moving on to the next bag. Because I was rinsing my gravel well, I had crystal clear water from the start.
If you don’t rinse your gravel, the water will stay milky due to all the excess minerals/sand on the gravel. You will then have to remove the water and clean the gravel before starting from scratch again.
If you want to make sure you can add your fish to your tank sooner, you can always add some beneficial bacterial. You can make homemade beneficial bacteria or just get a store bought version.
I added an aquarium thermometer as an optional extra you could add; this would help you when breeding in the future and would also help with your summer and winter months, as maybe you only need your tank heater on in the winter. This thermometer will come in handy in these cases.
Location And Placement Of Your Fish Tank

Firstly, you need to pick the right spot for your tank. Look around during summer and see where the sun hits your chosen room. It would help if you chose a place that doesn’t get sun. So, a spot away from windows and doors is usually excellent. I always plan mine so that it is close to an electrical plug.
Direct sunlight on your tank will cause an algae problem and could mess with your overall water temperature, affecting your fish and plants in the tank.
Next, once you have established where you will be placing your tank, you can consider where you will be placing your tank. If your chosen tank doesn’t come with a stand and you need a table surface, it is best to choose a solid surface.
Solid wood or metal is a great choice, as you don’t want the weight of your tank to cause any bowing in the middle of your table. If you see the table bowed in the middle after placing your tank, remove the weight and choose another table or get a stand. A bowed middle of the table would cause additional stress on your tank, leading to cracks, ruptures, or your precious tank falling due to the table collapsing.
It is something you would want to avoid. It is essential to get the dimensions of your tank so you can ensure it sits perfectly on the top. If your tank has an overhang on the tabletop, you will cause the same kind of stress to the sides of your tank, and you could risk damage to your tank in a few months.
How Do I Cycle My New Tank
When setting up a new tank, you always hear the term “cycling your tank.” This basically means preparing the new tank with bacteria that can handle the waste or ammonia caused by the fish waste. Nitrosomonas or beneficial bacteria is excellent for this, and you can easily purchase it at your local pet store.
I make my own homemade beneficial bacteria that last me a week or two if I know I am going to get new fish or have to setup a new tank.
Once I have all my dechlorinated water in the tank, I remove the sponge filter from my main tank and squeeze it into the new one to transfer the bacteria in that way so I don’t need any additional bacteria additives. It is always recommended to add the amount of fish food to the tank that you would feed your fish (if there was fish in the tank).
You will run the system once you have set up your tank (filled with everything from gravel to water). Then, you can add your bacteria and fish food. If you have a water tester kit, you can use it, but I have been operating without one for years, so it is definitely not necessary if you aren’t planning on getting sensitive fish.
Run everything with no fish for a few days until the water is clear and settled, adding a bit of fish flakes every second day to speed things along. You can add your fish after running your tank for about a week. Remember to set the temperature of your tank water to the necessary temperature of your fish if your fish requires heaters.
Also, make sure to acclimate your new fish to the temperature of your tank by allowing them to float in the bag (like you got it from the pet store) for about 15 minutes before releasing them into their new home. I like to add a dosage (determined by the size of your tank) of antifungal and overall health drops to the water to limit the risk of disease should one of the new fish have a problem.

Maintenance Of Your Fish Tank
I have goldfish, and they create a lot of waste, so I do weekly 15-20% water changes. When I do the water changes, I use my dedicated fishy kitchen sponge to clean the inside of the glass. I also use the water I remove to clean my filter sponge. I squeeze the sponge out in that water and use the water for my veggie garden, the veggies love it.
It is very important not to rinse your filter sponge under the tap alone, as this removes all the good bacteria in the filter, and your tank might crash (the water becomes cloudy). If there is a lot of gunk, I use the tap to blast out the gooey stuff, but then I add it back into the removed tank water and squeeze the sponge in there a few times before putting it back into the filter so I can add some of the good bacteria back into it.
If you have a planted aquarium, you might have to trim some of your plants from time to time to ensure they don’t overshadow other plants. Use your fish net to scoop up all the cuttings. I have a problem with black algae on some of my plants as my aquarium light is very white and bright light, and I leave it on for too long, so make sure the light you are getting for your tank is a suitable one for your needs.
